6 Easy Steps
Step 1
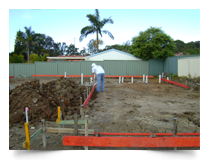 Ensure the building area is surveyed and completely level before you start. If required you may need to cut and fill the building area until a level surface is obtained. Then fit plumbing requirements as shown on plans.
Step 2
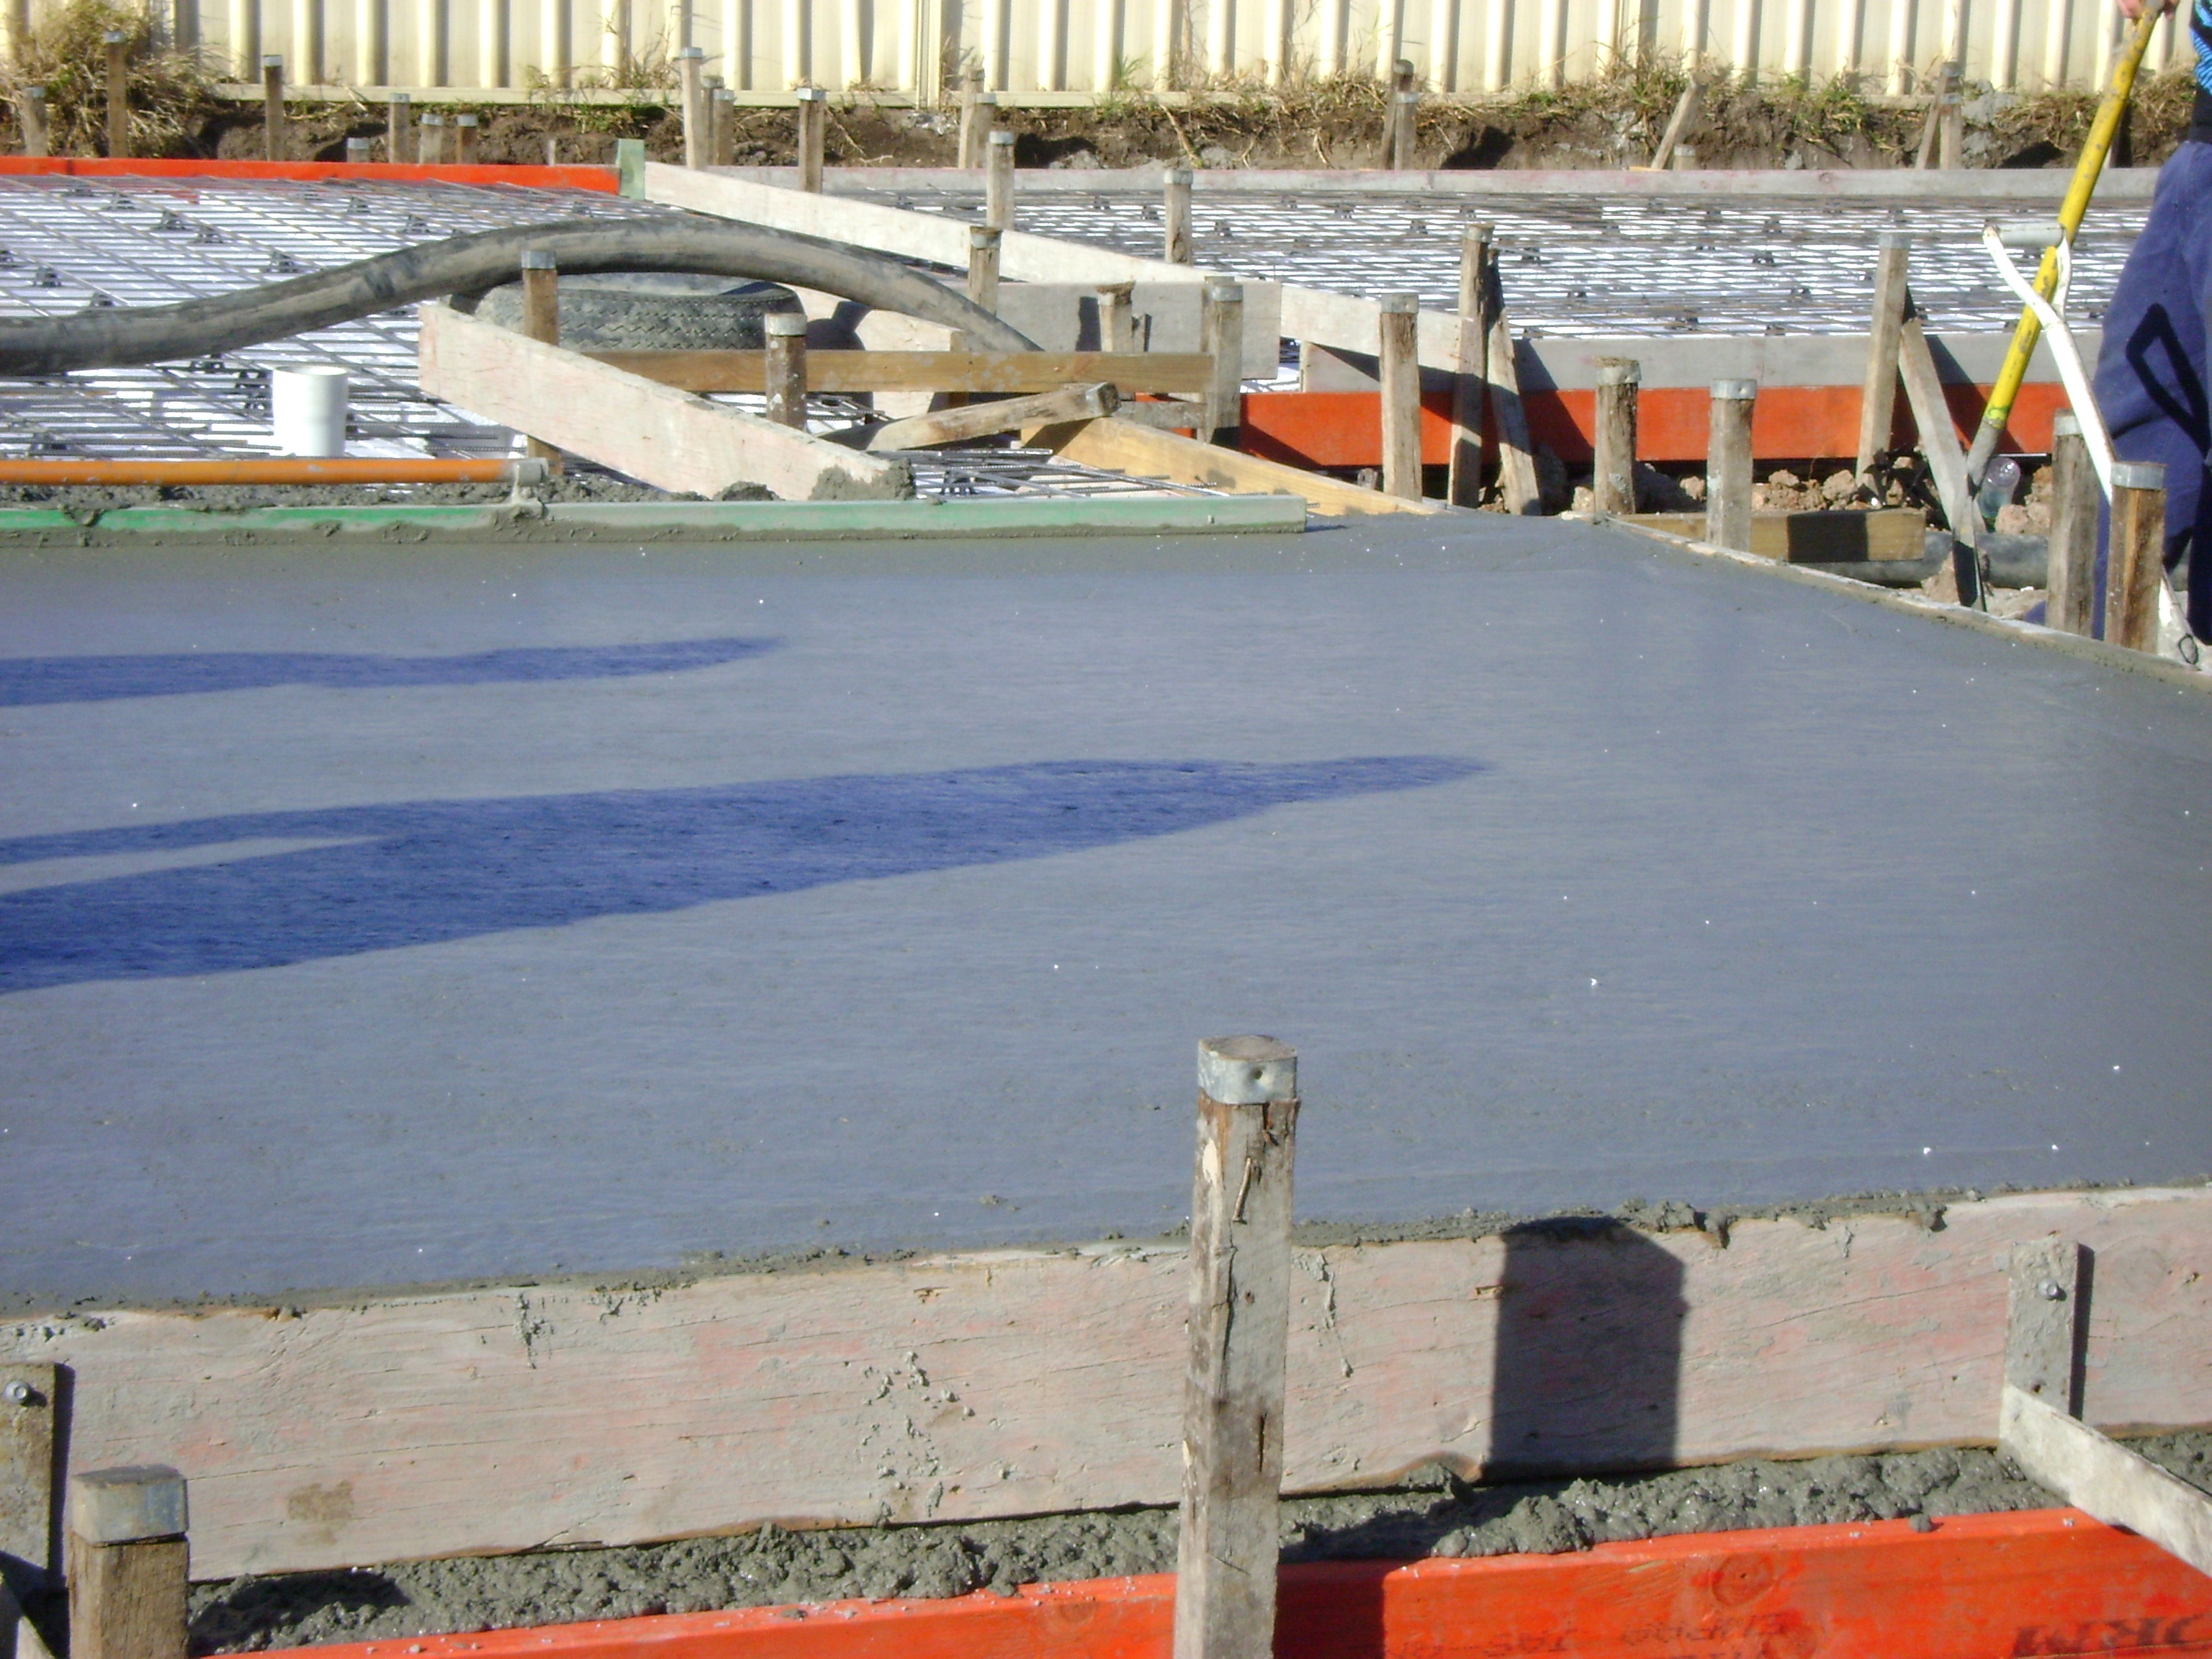
 Set up your outside formwork and spread 50mm of sand on the ground to obtain a level working area. Place plastic sheeting on top of sand and insure all joins and pipes are taped. This stops any absorption of moisture into your slab. Make sure you have completely covered the building area.
Step 3
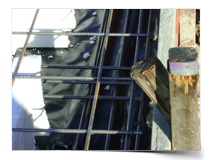
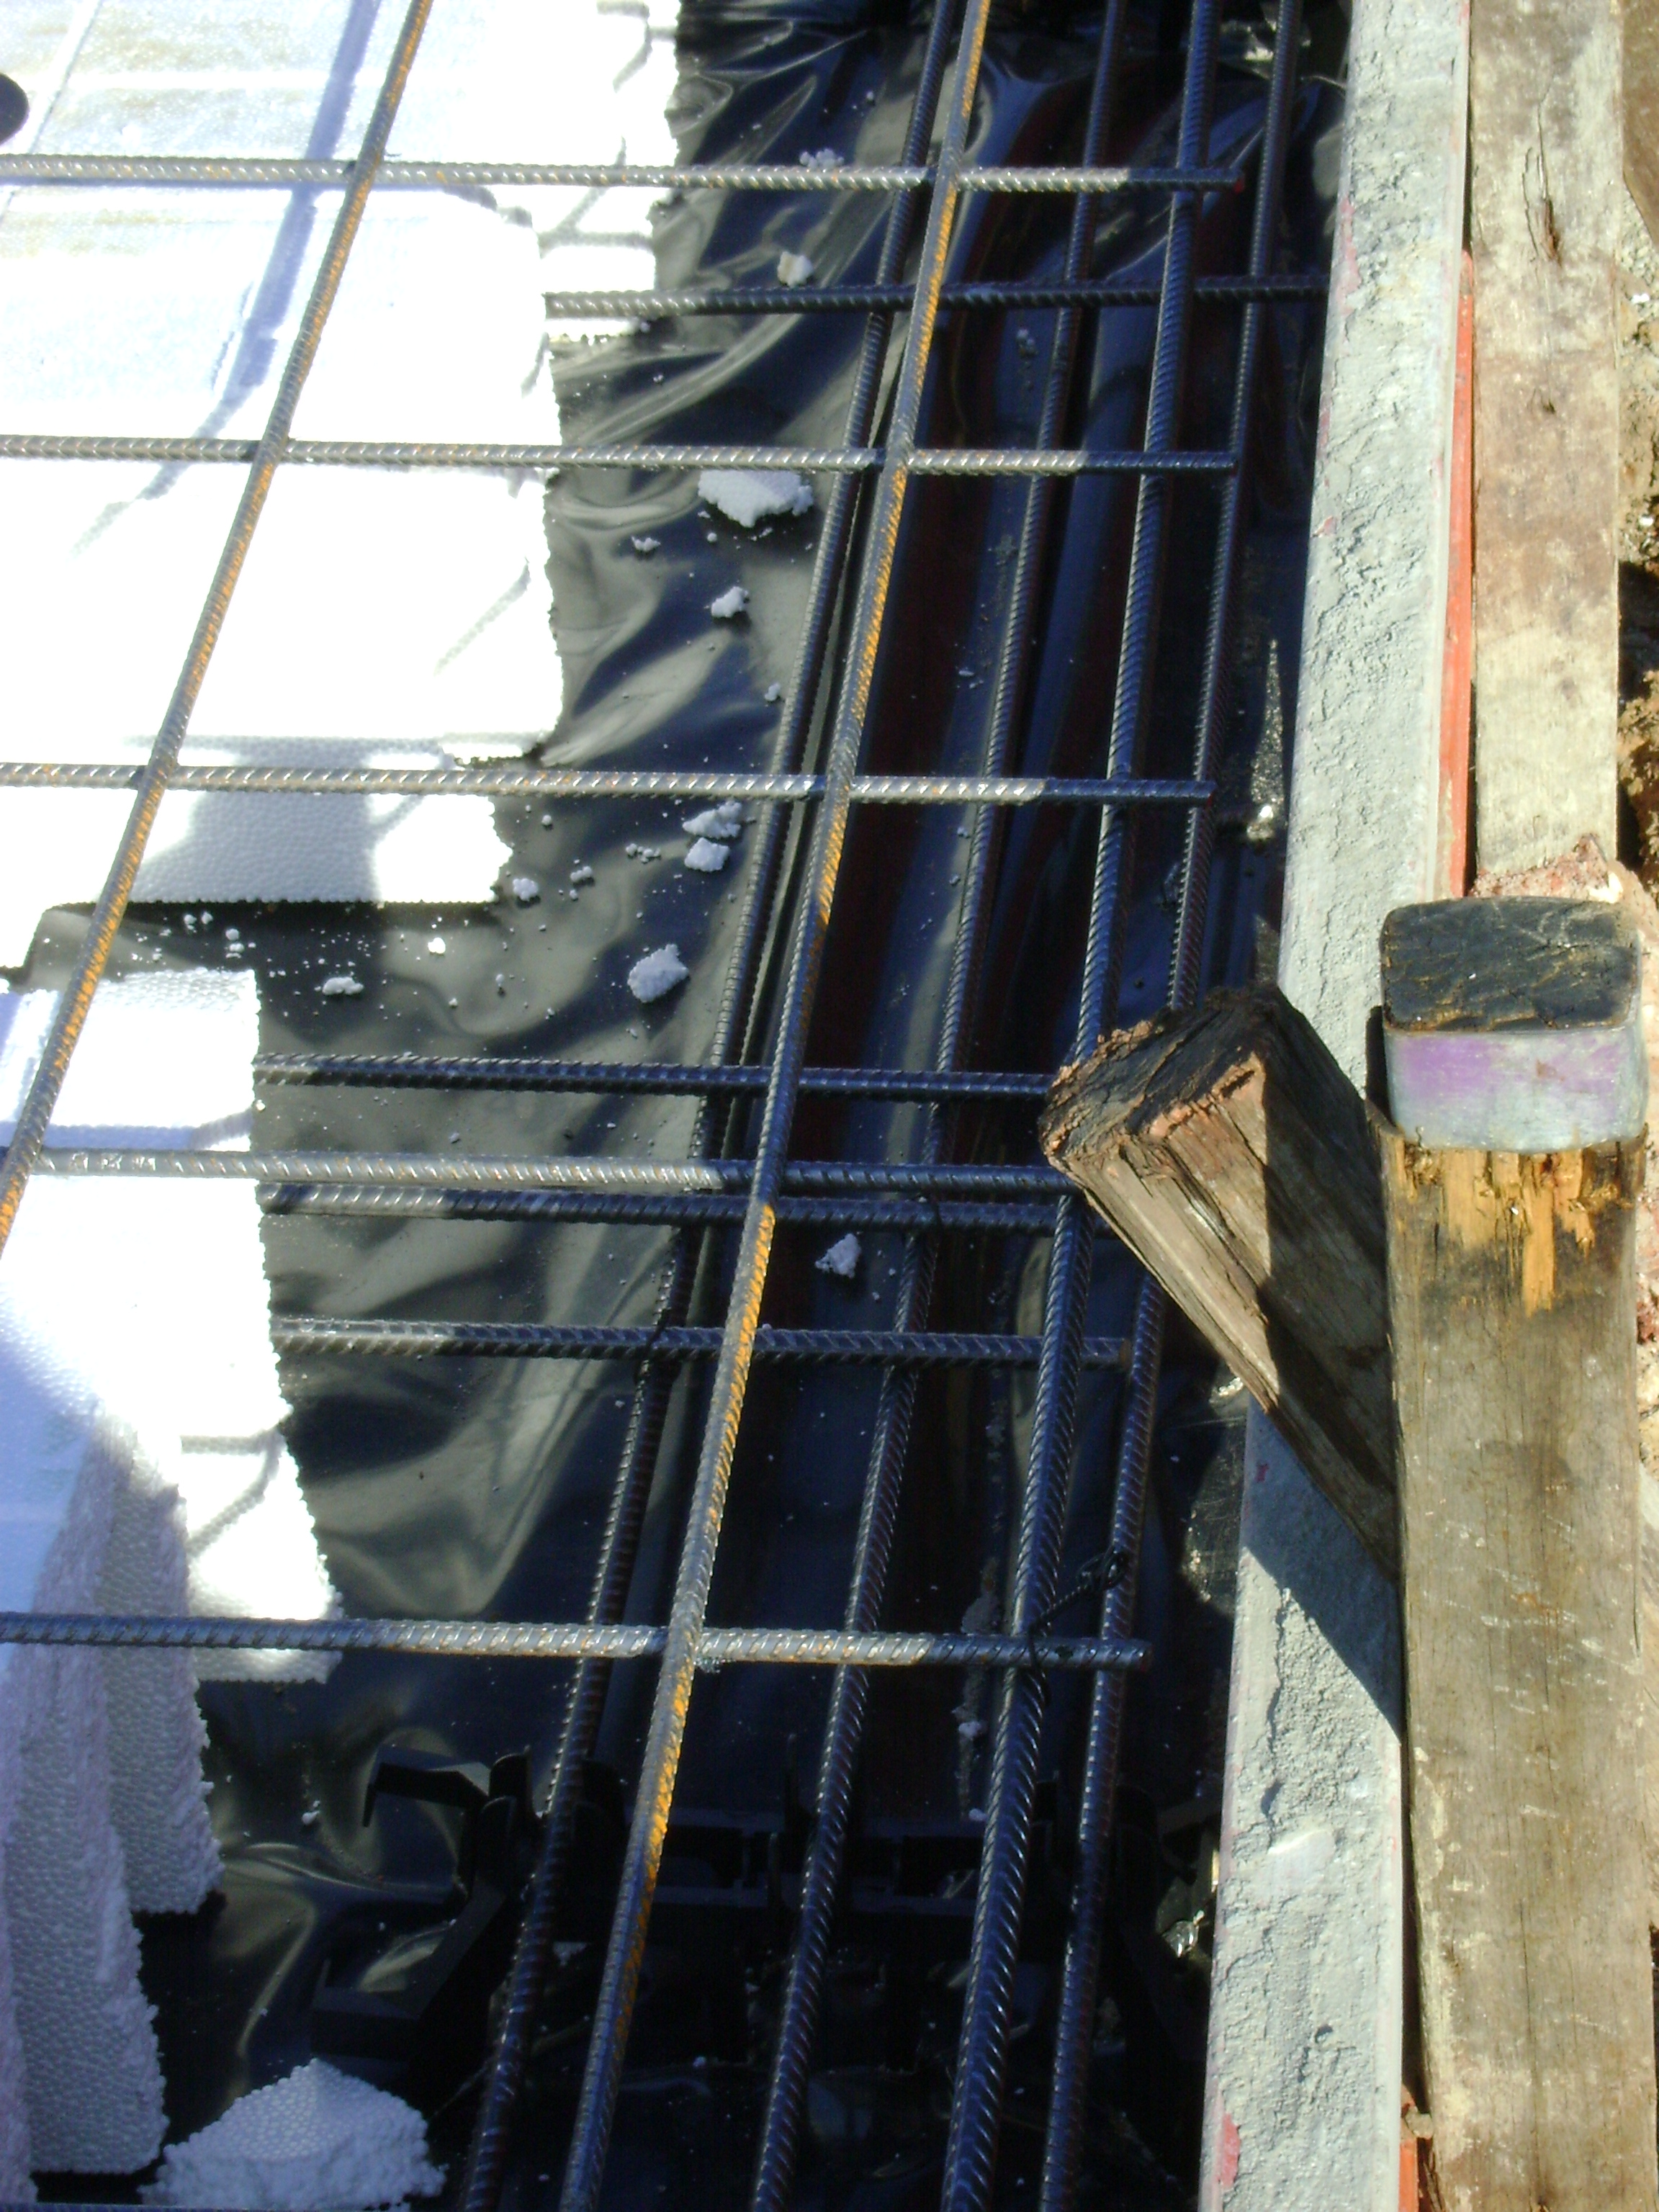
 Place external Hunter Pod spacers and 3 bottom bars to perimeter and any internal beams joining together by tie wire.
Step 4
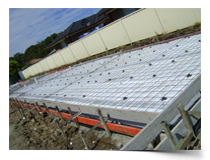
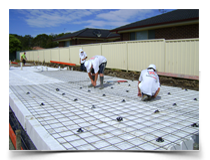 Start laying out your polystyrene pods in a grid pattern using Hunter Pods spacers to form ribs. Our Pods can be easily cut to suit your specific shaped building area as well as around any exposed plumbing pipes. Place reinforcing rods in between each pod in the rod locators on the Hunter Pods spacers. Then lay reinforcing mesh over the total slab area using bar chairs as specified.
Step 5
Inspection of slab by authorities.Step 6
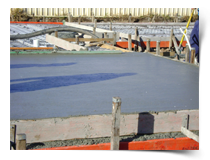 Pour concrete and vibrate into ribs, the concrete should have a minimum depth of 85mm over the pods with a 20mm cover over the top of the mesh.
-
Notes
Please feel free to call us on (02) 4966 3959 if there are variables shown on plans such as:
- Piering
- Additional reinforcing
- Drop edge beam etc

Click to Enlarge Image
Click to Enlarge Image

Click to Enlarge Image

Click to Enlarge Image
Click to Enlarge Image
Builder & Concreter Benefits
- Reduce costs
- Greater efficiency
- Less wastage
- No trenching
- Full Estimating Service
- Unique Interlock system equals a much simpler & more accurate construction
- We can provide you with ALL the waffle pod accessories you‘ll need (including the unique Interlock system